
Hollywood Waves
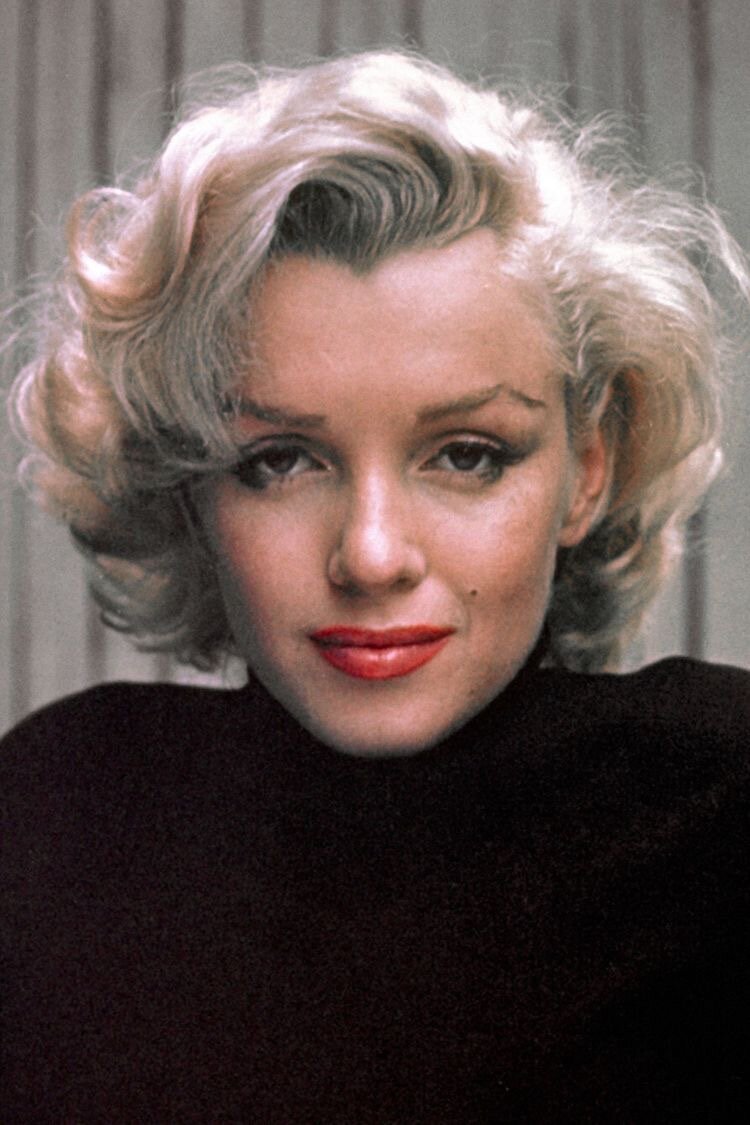
The history of the Hollywood wave’s begins in the 19th century. Once the famous hairdresser Marcel Grateau invented a new method of curling hair with the help of hot tongs. The unusual hairstyle was first called “Marcel’s wave”. The movie actresses of the 1920s only induced the general public’s interest in such a hairstyle. Even famous Marilyn Monroe demonstrated beloved for the hairstyle. For a while, the Grateau’s creation was replaced by a “cold wave”. But it did not last too long. In Hollywood, the wave became especially popular with the oblique hair parting and curls that cover half the face. The famous movie stars of our time have revived the tradition of the genius hairdresser, and the trending hairstyle of the 19–20th century has come back!
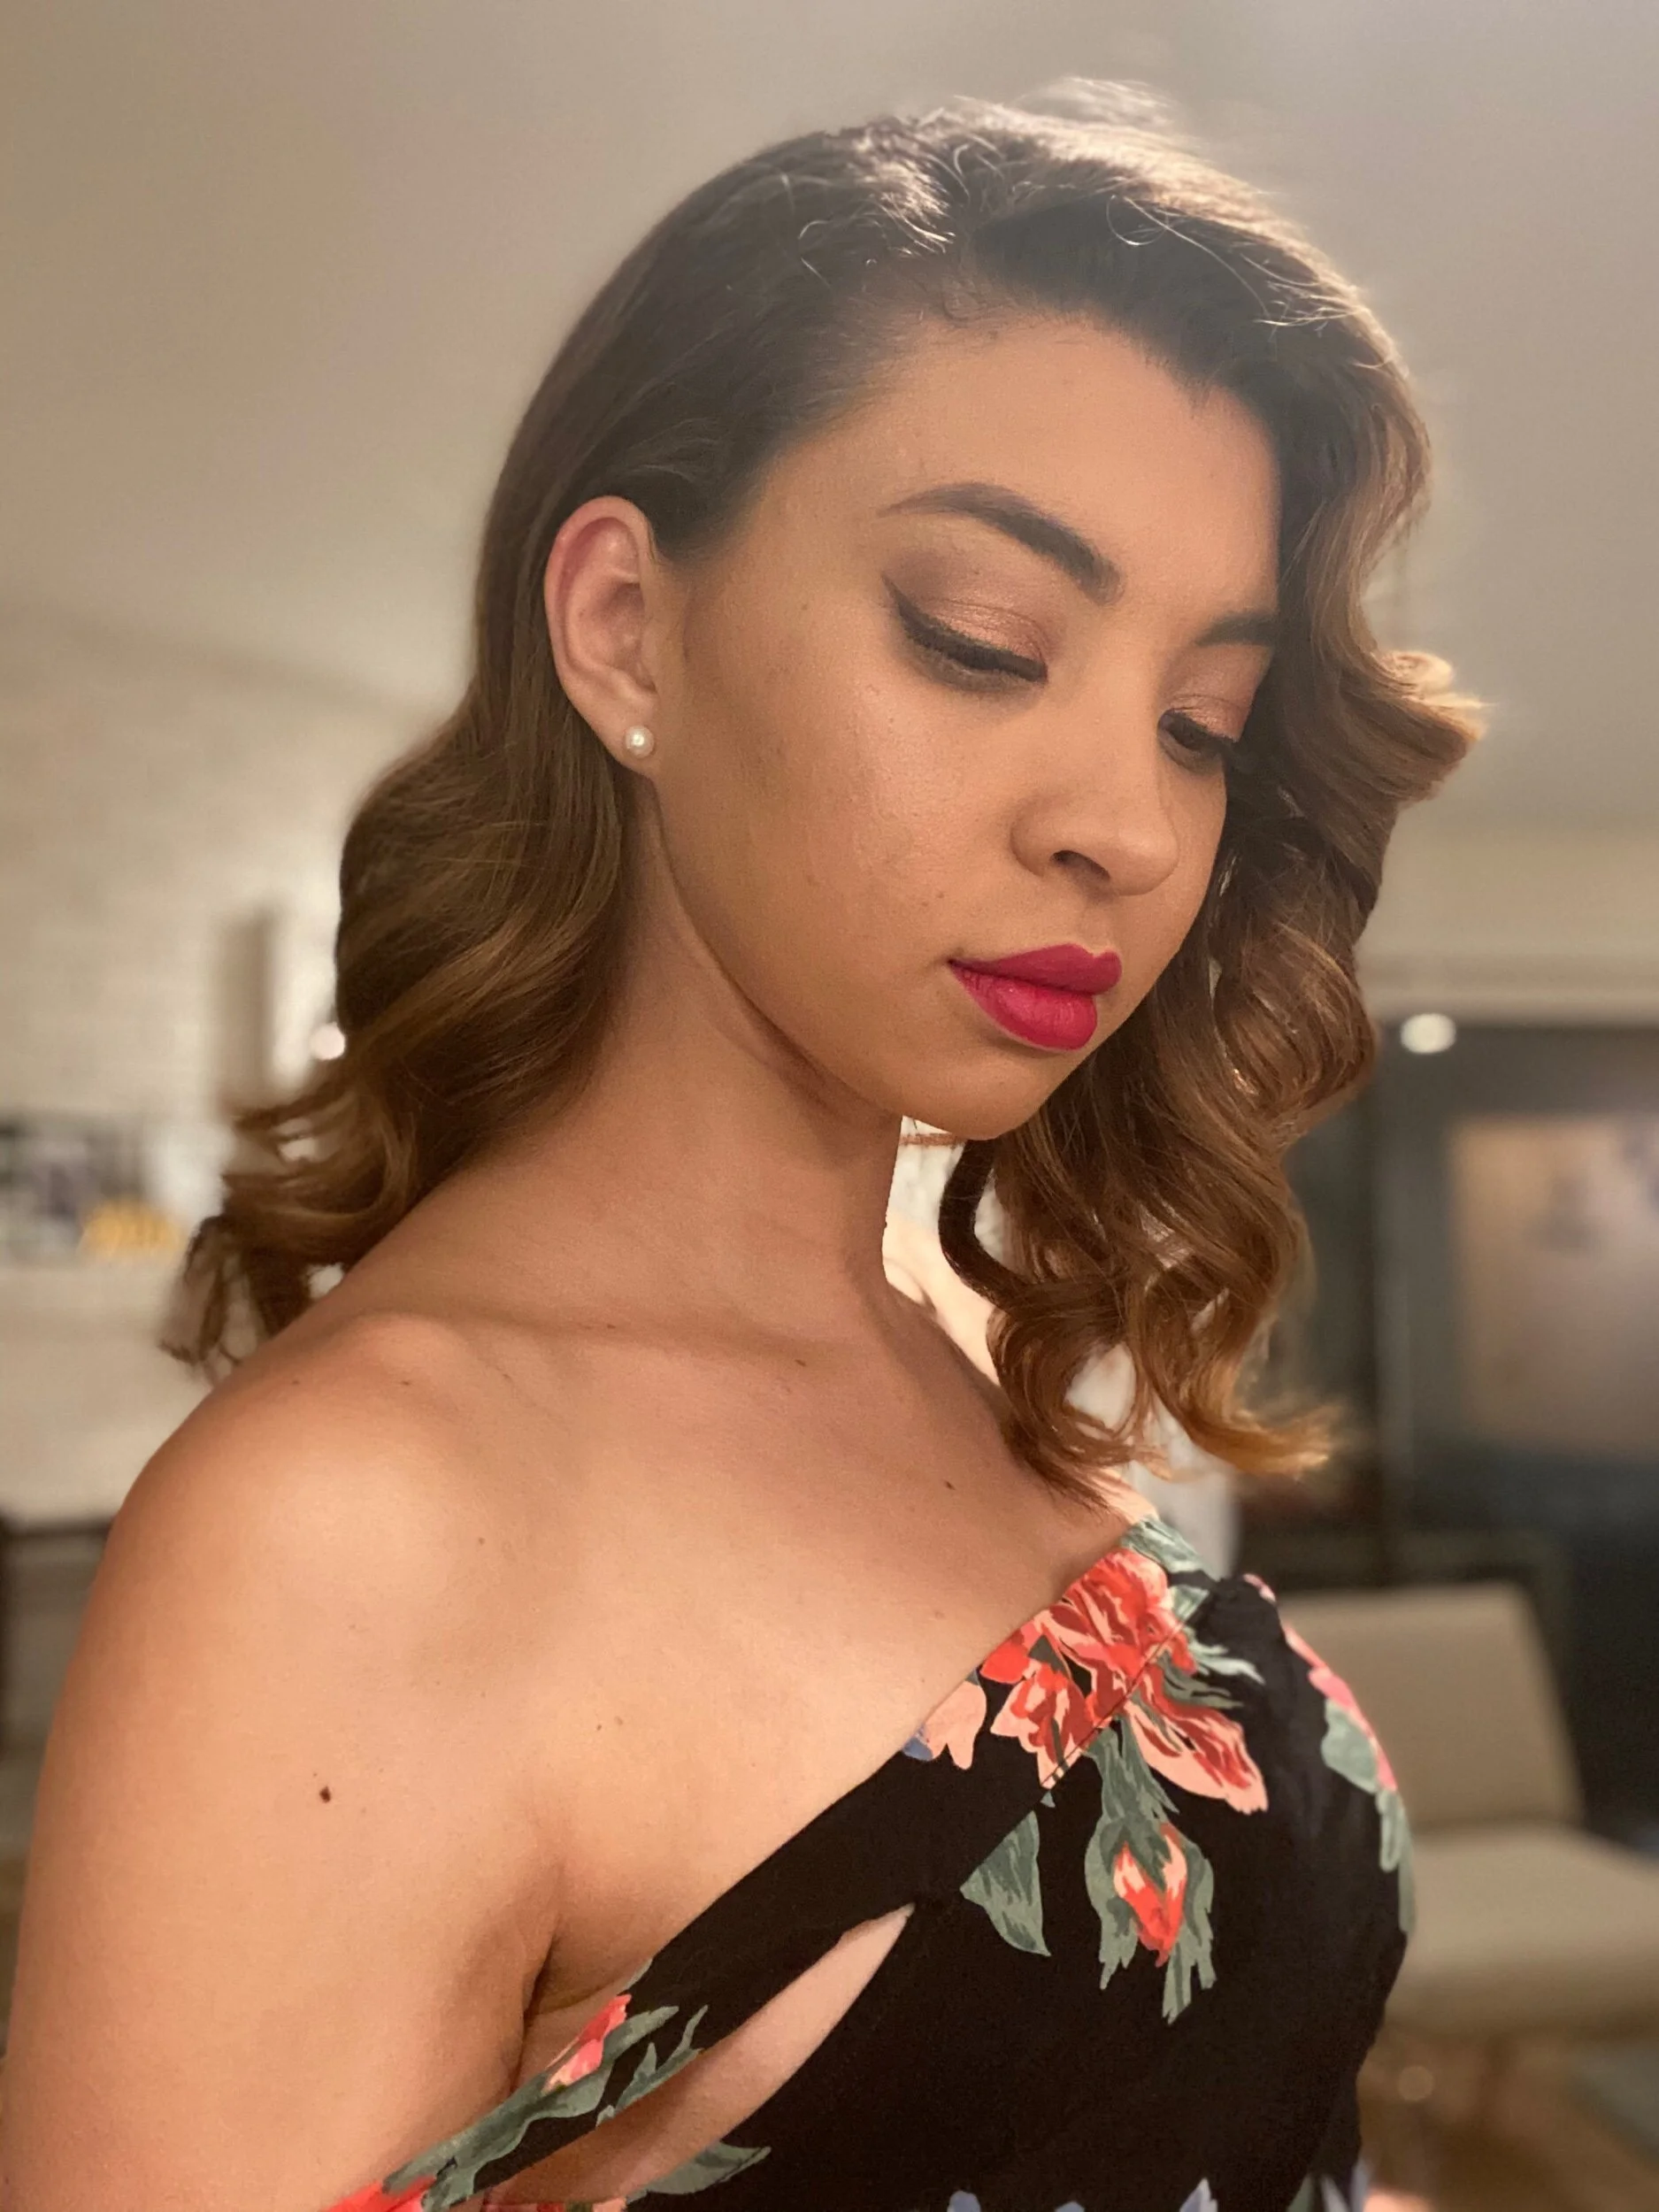
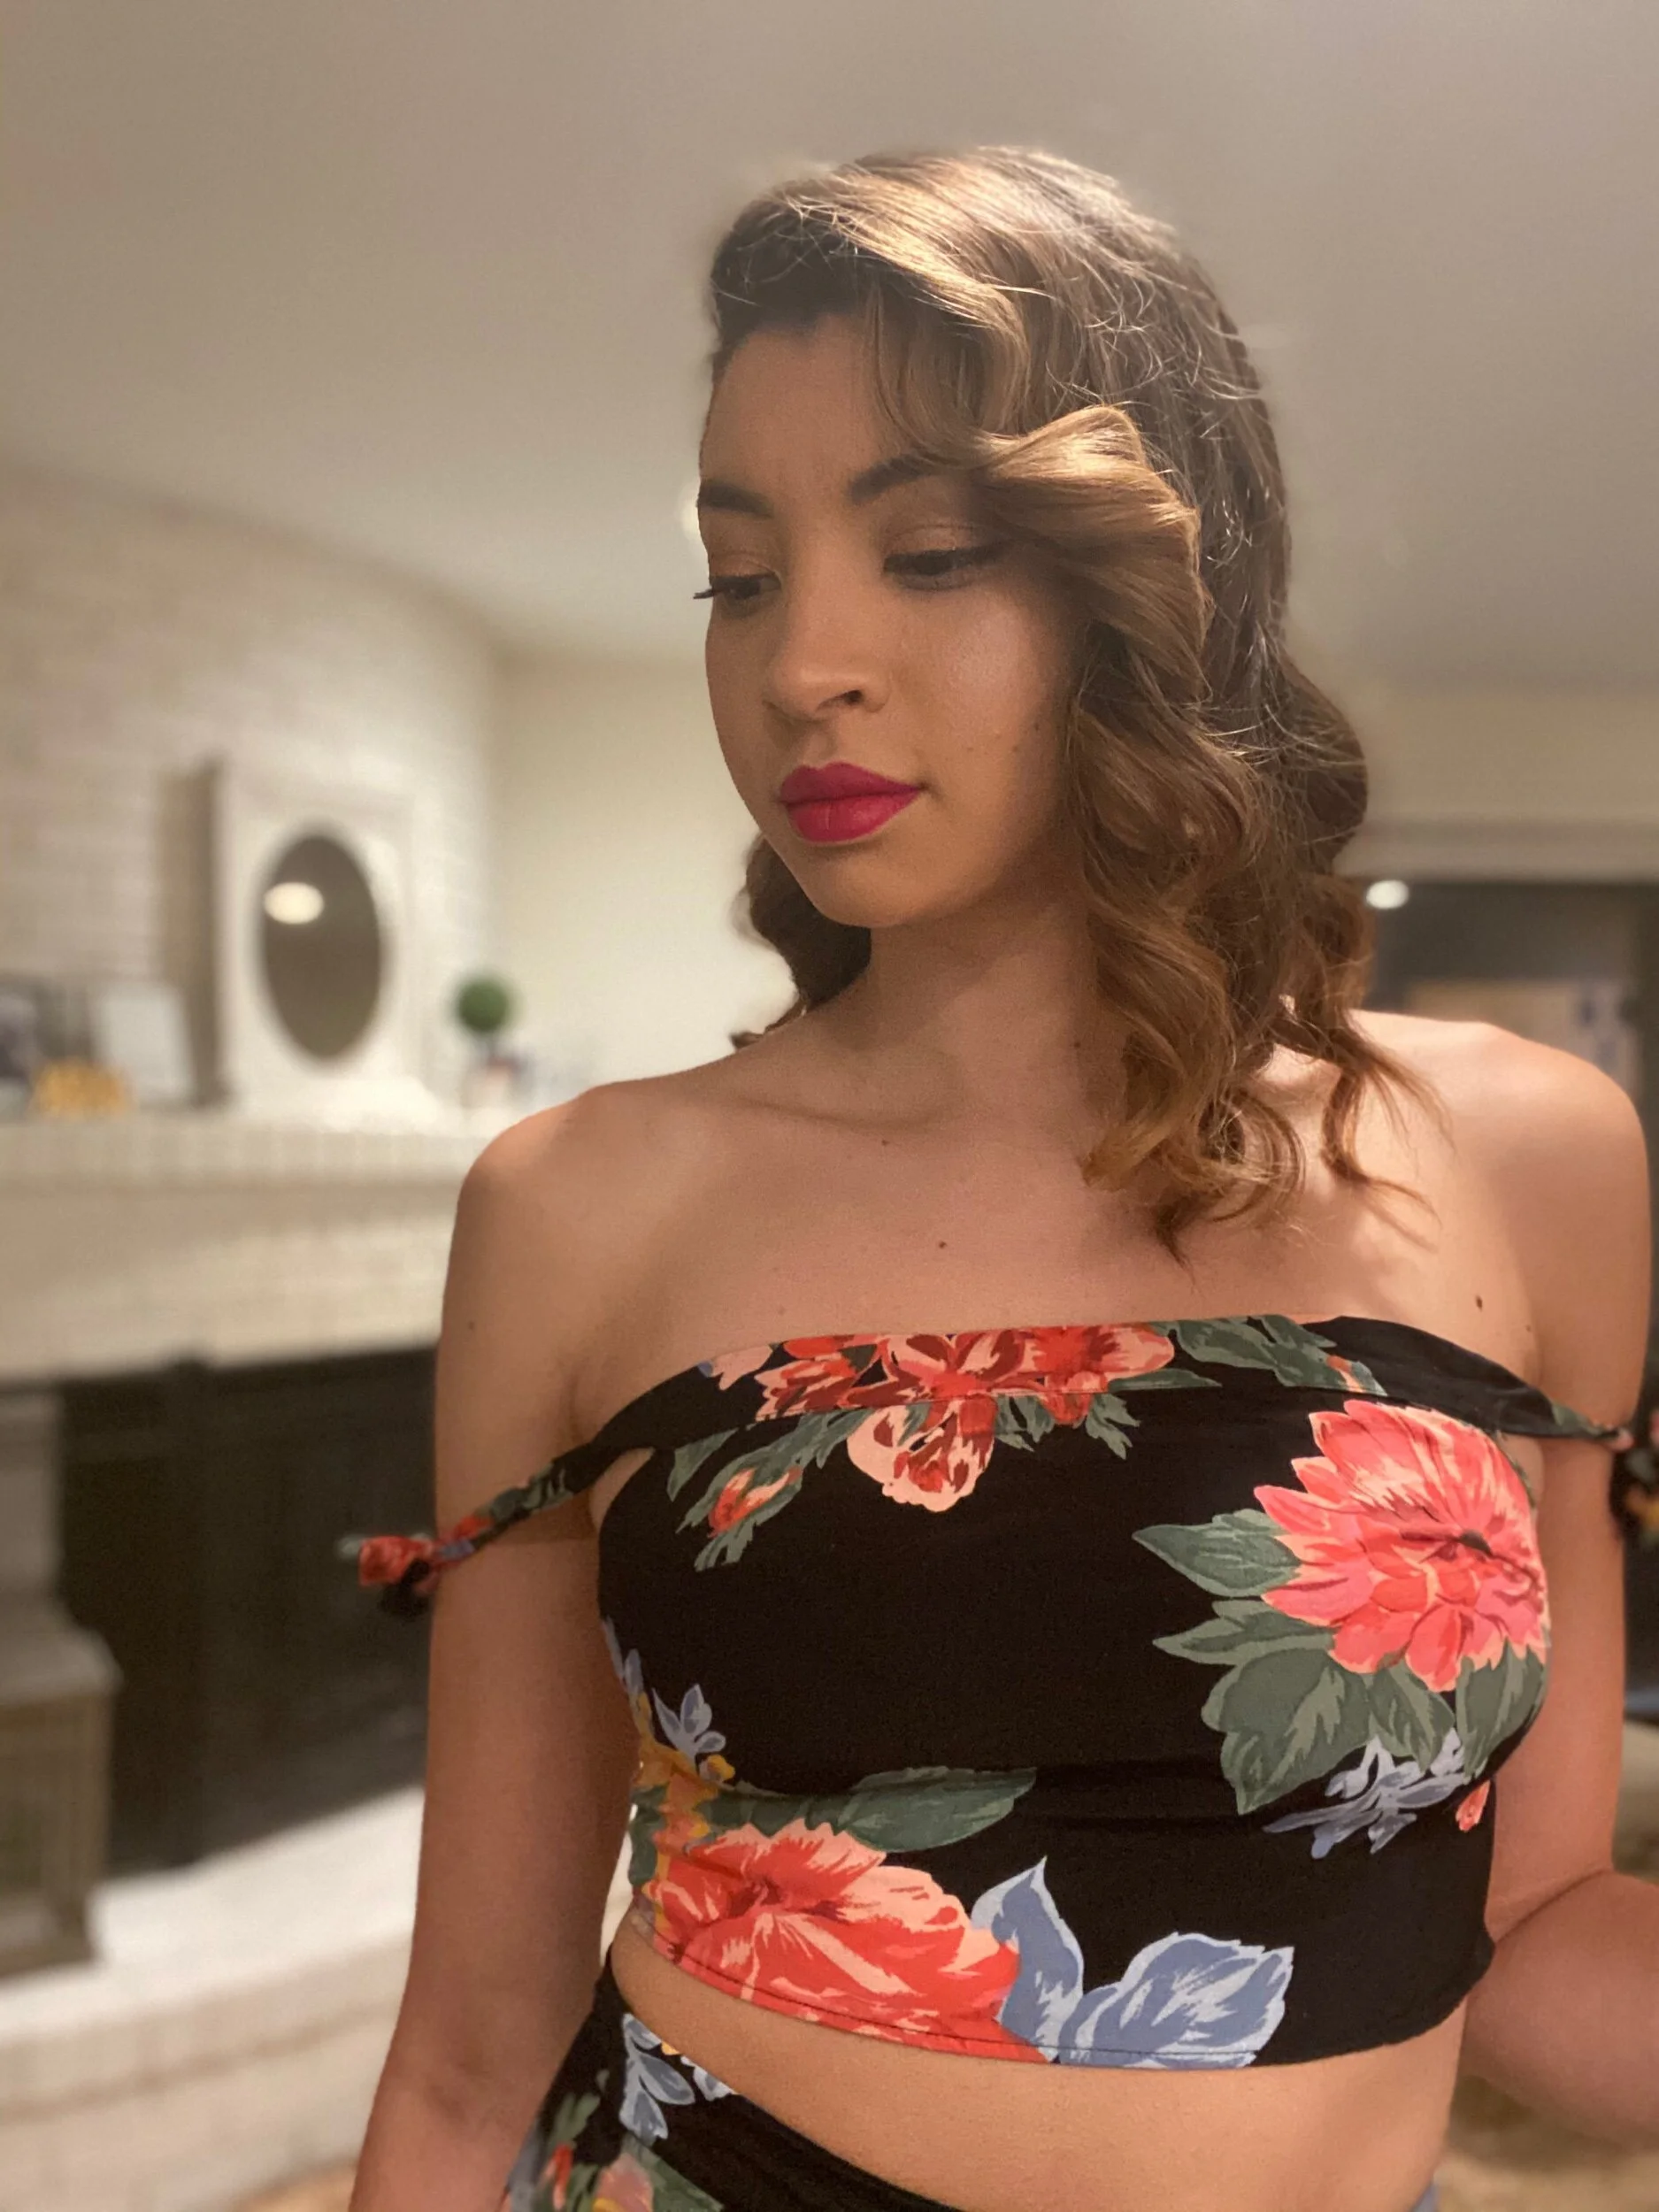
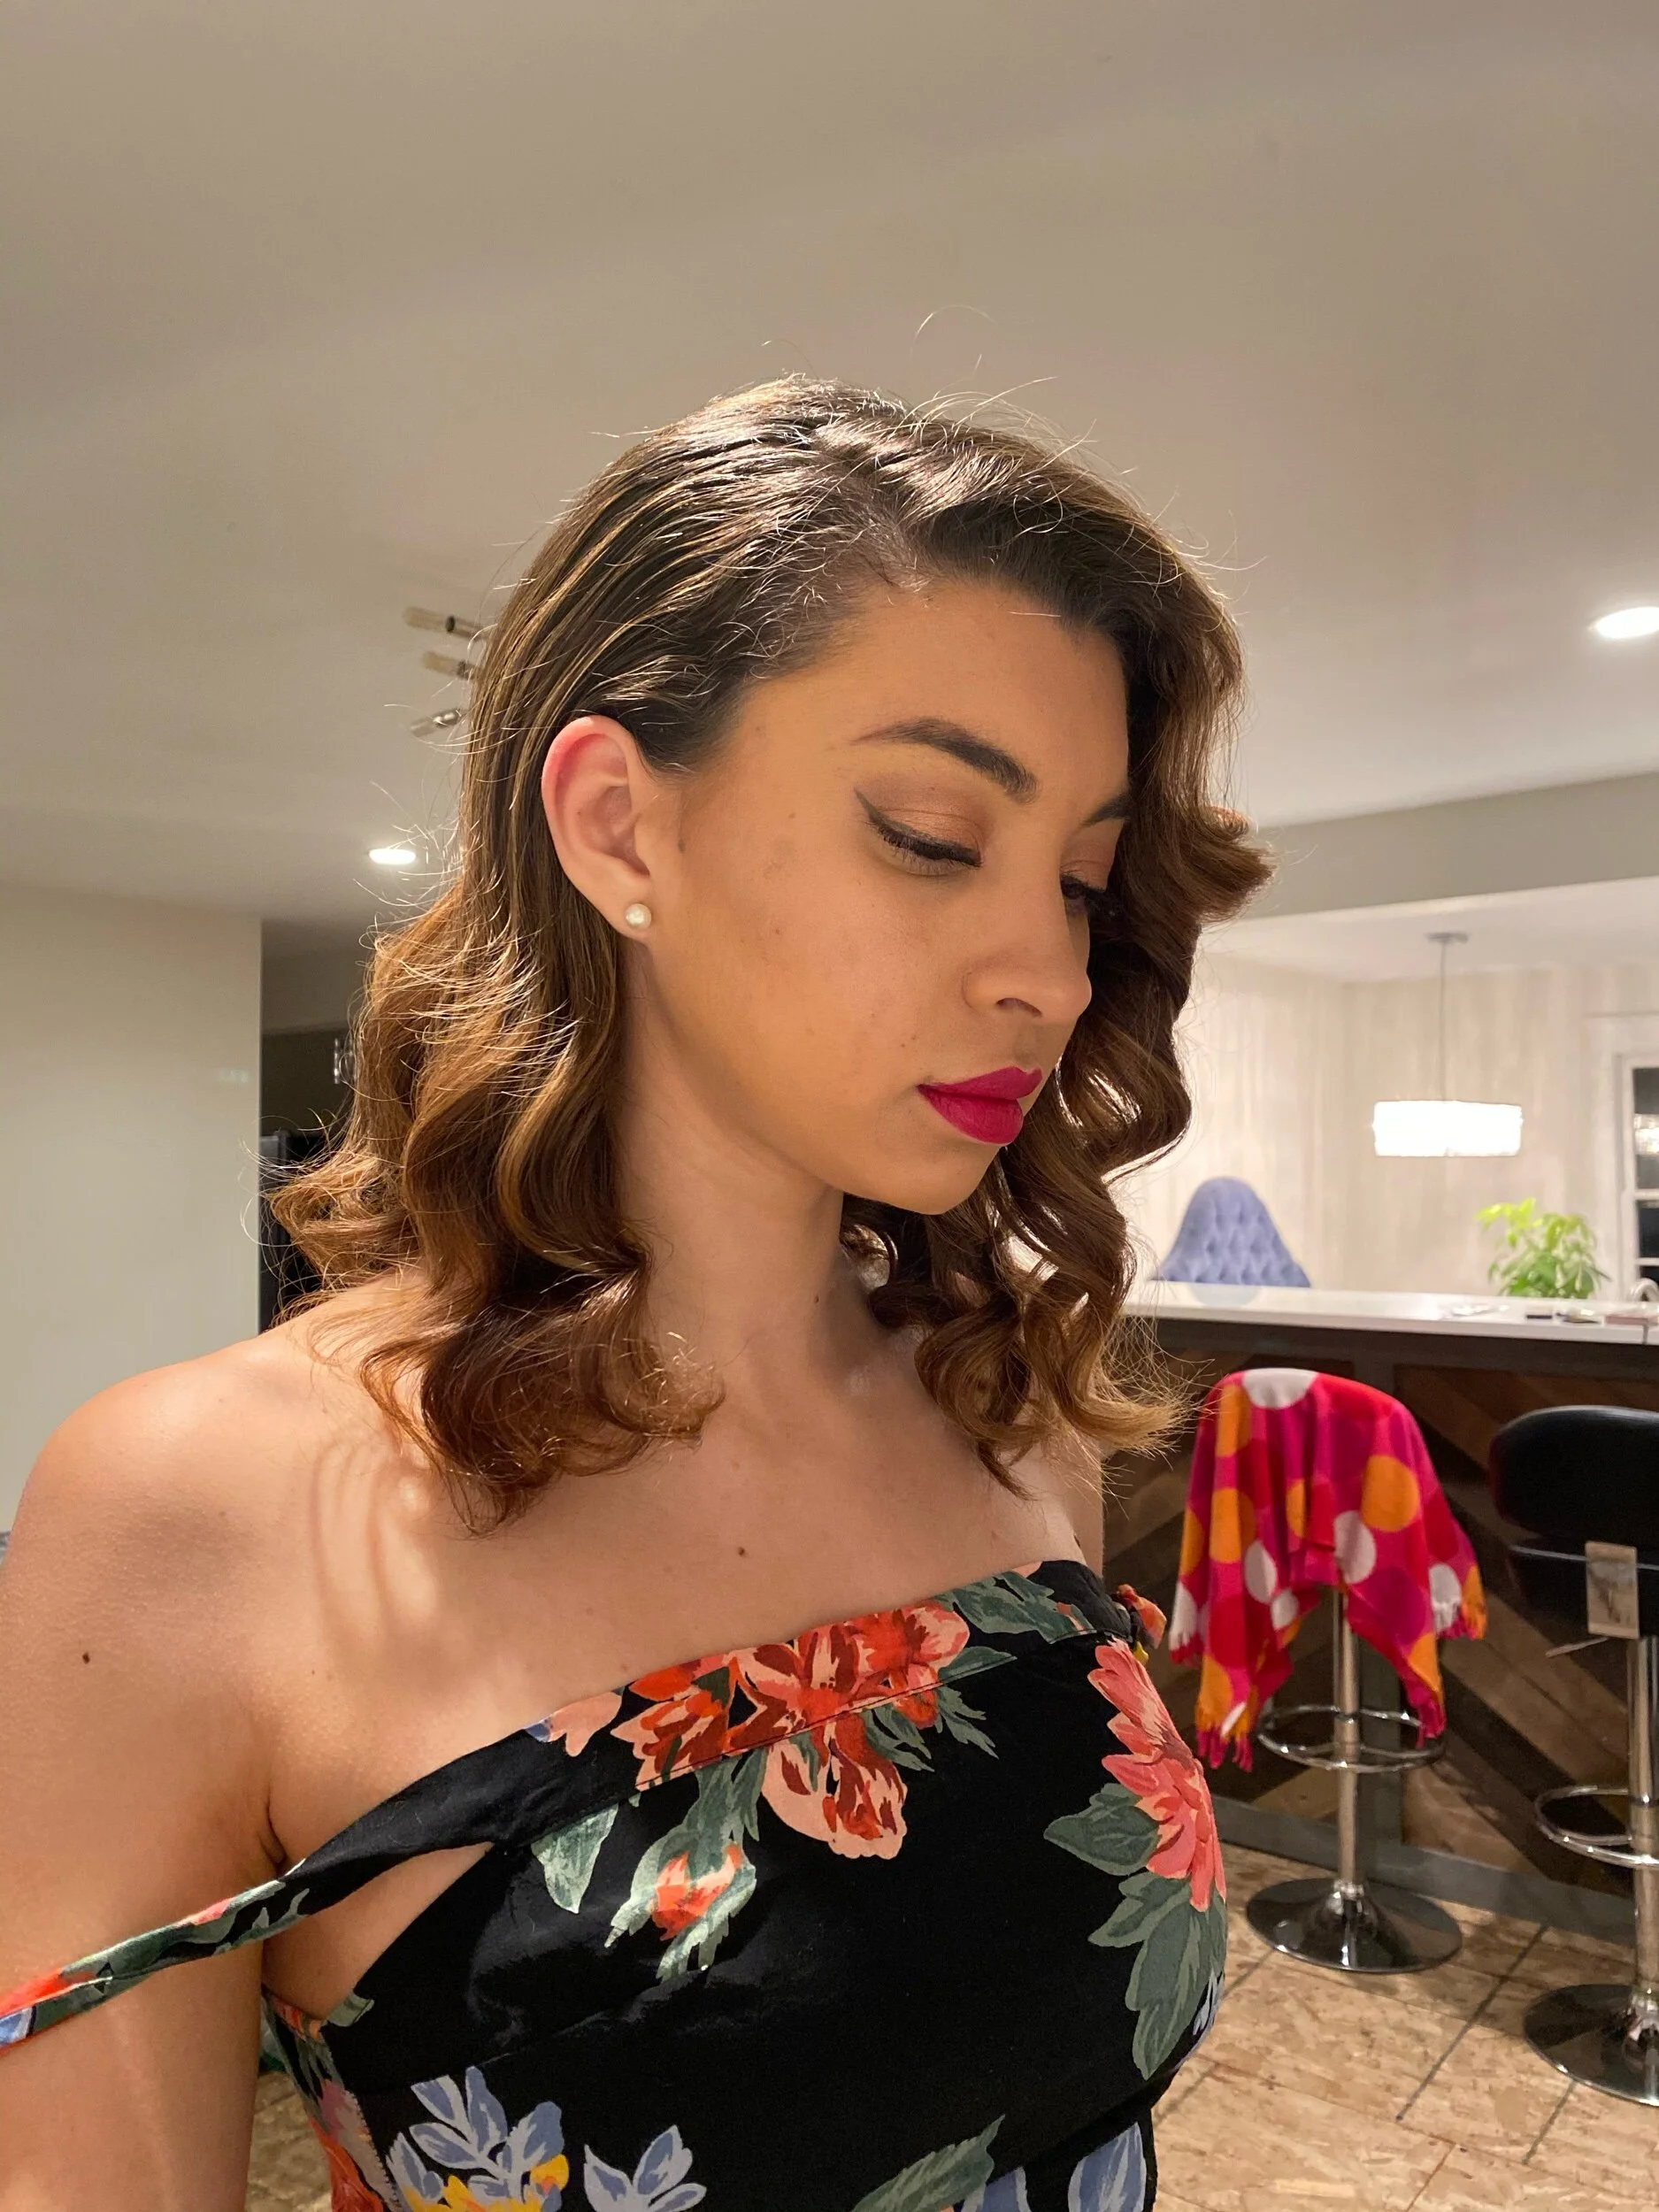
In my opinion, this hairstyle is one of the hardest to do on yourself and on someone specially if you have a layered haircut. While if your hair is one length is easier to manage. However, if your hair has layers you can still try it. Hollywood waves are elegant and sexy, I think this hairstyle is perfect for a special date, a wedding, or a romantic date night. Also, I will show you a little tutorial of easy makeup.
Hollywood Waves step by step
Watch the video first so you will have a better idea.
Detangle your hair.
After the hair is properly prepped, section the hair. Now is the time to determine where you will part your hair. After you have placed the part, we will begin at the top area and create a 1-inch think section. Start curling the top. Place the curling iron horizontally, roll your curls, and clip them on top you can also use duckbill clips or bobby pins.
Now begin curling. Before you begin this part though, determine which direction you will need the curls to go. Meaning if your hair is parted on the left and you want the waves to go this direction. You want the side of where you part to go towards your face and the other side you will curl away from your face then this means that you will want to curl every single section in that direction. I this case the left. Once you have determined this, you can begin curling. Each section we curl will be 1 inch thick. Try to stay very consistent with this, as that is how you will get the best results. Place the iron vertically, and begin wrapping the hair around the iron for 5 seconds.
After the entire head is complete let all of the curls cool completely. You can start doing your makeup.
You can now remove the clips and let the curls down. Be gently when removing the clips as to not disrupt the curl too much.
This part is super important. Use your dressing brush to brush through the curls. Brush in large sections and continue brushing. When you think you have brushed enough, keep brushing. This step is important because by brushing with the dressing brush, you are causing the waves to all fall into place with one another. You will start to see the wave pattern happen. At this point, if you still have some time before you have to head out, you can use your duckbill clips or bobby pins to help push those curves into the waves.

“No you can not touch my hair.”
Ready to make an appointment?
Did you try this tip?
Tag @danymorenosalon on Instagram #danymorenosalon or COMMENT below–I would love to hear your experience and answer your questions!